How to optimize a SeLoger listing: video, the missing lever
If you market property in France, SeLoger is the portal buyers check first. To optimize a listing on it, fill it in completely: a precise address, photos of every room, a detailed description, the energy certificate (DPE) and property details, and a video. By default, SeLoger sorts listings by advertiser type, paid placement, then listing quality. At the same placement level, the most complete listing comes first. Video is the piece most often missing, and you can create one in minutes from your photos.
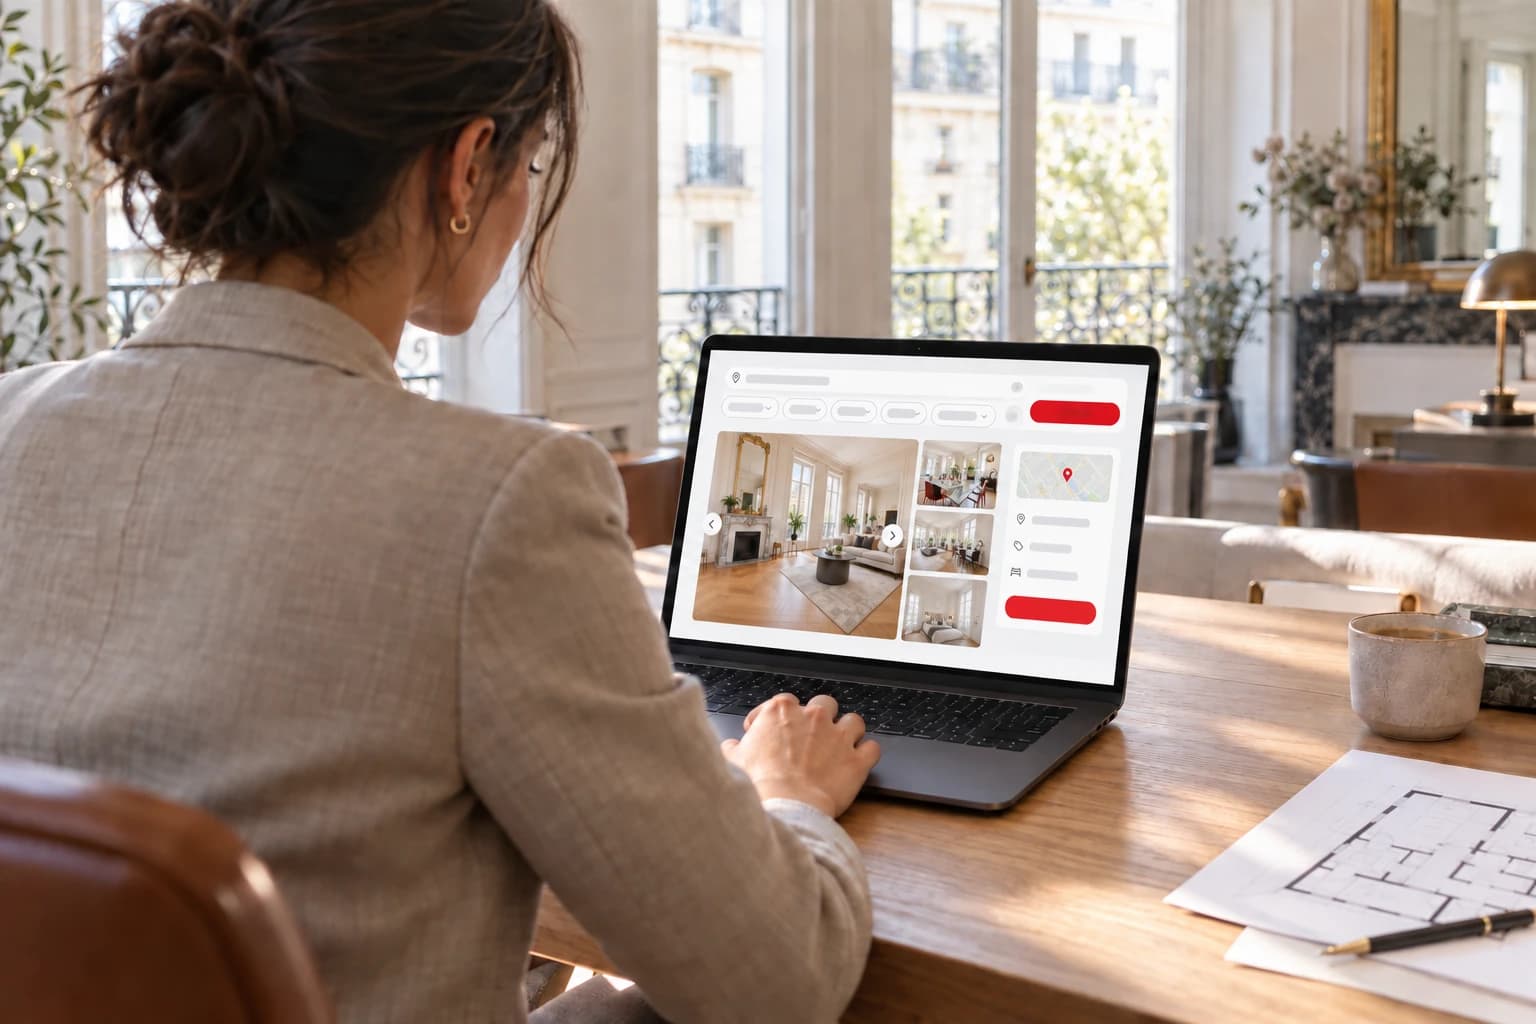
How SeLoger ranks your listings
When a buyer runs a search without changing the sort order, SeLoger shows listings in its default order, called “Tri par Sélection.” That order follows three levels, which SeLoger describes on its ranking policy page:
- The type of advertiser. Listings from professionals come before listings from private sellers.
- Paid placement. A boosted listing comes before one that isn’t.
- Listing quality. With the same advertiser type and placement, the more complete the listing, the higher it ranks. SeLoger names the property’s geolocation, the visuals and the property information.
The first two levels are already set: you’re a professional, and a Boost costs money. The third is the only one that’s free and entirely in your hands. That’s often where your position against other agencies in the area is decided. A Boost doesn’t replace it: between two boosted listings, the more complete one still comes first.
Two myths to drop. The publication date isn’t part of the default sort: buyers can sort by date, but that’s not the order they see on arrival. And deleting a listing and recreating it identically to “refresh” it is explicitly forbidden by SeLoger, which may delist it.
The quality score, point by point
In My SeLoger Pro, each listing shows a quality score out of 100, with a “to complete” (« à compléter ») section that tells you what to fix first. According to the breakdown published by Immobilier 2.0, it is split into four parts:
- Photos, video and virtual tour: 45 points, including 10 points for a video or a virtual tour.
- Description: 20 points, 1 point per 100 characters, up to 2,000.
- DPE and property details: 20 points, 10 of them for the DPE alone.
- Address and geolocation: 15 points.
The visibility gap is stark: according to the same source, a listing at 80 points gets up to 16 times more first-page visibility than one under 50. And the score is fixed in your listing software: every improvement also benefits the other portals the listing is syndicated to.
The checklist to optimize your SeLoger listing
A precise address
Enter the full address or GPS coordinates, not just the city. It’s the quickest fix across all your listings, and a precise location brings in about 30% more inquiries.
A first photo that gets the click
In the results list, SeLoger doesn’t show your title: only the photo, the price, the key details, the neighborhood and the DPE letter. The first photo does all the work. Pick a bright living space rather than a facade or a street view.
Photos of every key room
Aim for at least 8 photos for a studio, more as the property gets bigger. The kitchen and the bathroom are a must: without a photo of the kitchen, inquiries drop by more than half.
An honest title, on the listing page
The title only shows once the listing is open, above the description. It doesn’t drive clicks from the results, but it sets the tone: property type, main selling point, location. For example: “Bright 2-room apartment, top floor with elevator.”
A detailed, structured description
Aim for 1,500 to 2,000 characters, always in the same order: size and rooms, features, neighborhood, practical details. Mention nearby public transportation, schools and shops: that’s often what decides between two similar properties.
The DPE and every detail, even unflattering ones
Fill in the DPE even when the rating is poor: it earns points whatever the letter, and a listing with a DPE is up to three times more likely to generate an inquiry. Same logic for property details (elevator, cellar, balcony): a “no” beats an empty field.
A video or a virtual tour
Last item on the list, and the one most often missing. Here’s why it deserves a closer look.
Video, the missing lever
In their pro account, many agents see the score stall even though they feel they’ve filled everything in. Address, photos, description and DPE are part of every agency’s routine. Video isn’t: until now, it took a shoot, a vendor or time spent editing. So it’s the piece most often missing, and it’s what separates an almost complete listing from a complete one.
On the public listing page, SeLoger doesn’t use the word “video.” It shows a “Visite 3D” (3D tour) button, placed right on the main photo, next to the one that opens the gallery. Whether you add a video or an actual 3D tour, it’s the same button that appears. Without a video, it doesn’t appear: the buyer only gets the photos.

Apartment for sale, Paris 11th
€545,000
3 rooms | 2 bedrooms | 68 m² | 4th floor
Ranking higher brings buyers to your listing. Video then helps keep them there:
- They stay longer. A video gets watched to the end. A gallery gets swiped through in a few seconds.
- They picture themselves there. The volumes, the flow from room to room, the light: video shows what photos only partly convey.
- Showings are better qualified. A buyer who has seen the property in motion knows what they’re coming to see.
Everything ready on day one
A listing gets the most attention on the day it goes live, and that interest is cut in half within 72 hours. A listing published incomplete and finished the following week misses its peak. And since deleting and republishing it is forbidden, there’s no second chance: photos, description, DPE, address and video all need to be online from day one.
For the video, you can do that without a shoot. Roomotion creates it from the listing photos you already have:
- Upload your photos and put them in walkthrough order.
- Choose your style: camera moves, music, intro and an end screen with your contact details. Or let the tool choose for you.
- Download the video in a few minutes, in landscape for SeLoger and vertical for social media.
Each photo becomes a real camera shot with depth, not a simple slideshow. To compare this method with manual editing, see our guide How to create a real estate video from your photos.
Add the video and measure the impact
Upload the video to YouTube, as “unlisted” if you don’t want it to appear on your channel. Copy the link, then paste it into your listing software or your pro account, in the field for video or virtual tour. On the next update, the “Visite 3D” button appears on the listing page.
You can then check the impact for yourself. In My SeLoger Pro, each listing’s stats are available over 7 days, 30 days or a custom period, compared with the previous period. A listing naturally loses views over time: if its numbers go back up after you add the video, that’s no coincidence.
Create the video for your next SeLoger listing
Roomotion turns your listing photos into a video with real camera moves, ready to publish on SeLoger in a few minutes. No subscription, one credit per video.
Try it with my photosRelated reading